


The fundamentals of a cymbal soundcheck
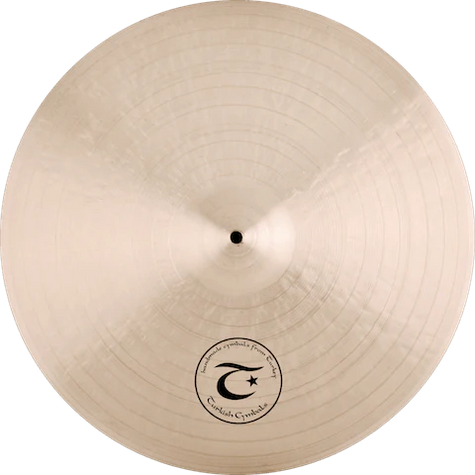
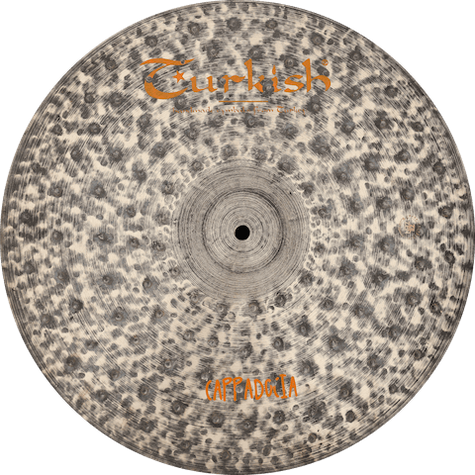
A thorough cymbal soundcheck is the backbone of any professional drum performance. The craft lies in systematically analyzing each cymbal’s acoustic characteristics while considering both tonal nuances and physical properties. Hand-hammered B20 cymbals from traditional Turkish production often exhibit particularly complex tonality, which calls for a methodical approach.
The foundation of a successful soundcheck starts before the first strike. The acoustic environment plays a decisive role in assessing cymbal performance. Reflective surfaces can skew the perception of sustain, while overly damped rooms suppress natural overtones.
Acoustic room analysis before the test
Room acoustics significantly shape how cymbal traits are perceived. Ideally, the soundcheck should take place in a room with a balanced reverb time. Rooms that are too dry make cymbals sound thin and lifeless, while spaces with excessive reverb can smear articulation.
Professional drummers also factor in miking if amplification is planned. The placement of overhead microphones can drastically change how cymbal transients are captured. These factors should be simulated during the soundcheck.
Systematic striking techniques for testing
Striking technique fundamentally determines how a cymbal is evaluated. Different stick positions reveal different frequency spectra and dynamic ranges. Systematically working through various strike points enables a comprehensive assessment of the cymbal’s character.
"A cymbal reveals its true sonic potential only through varied striking techniques. The art is understanding every area of the cymbal surface and using it intentionally."
Edge hits and bow techniques
A cymbal’s edge typically produces the brightest, most immediate tones with pronounced high frequencies. This zone is ideal for accented phrases and crash effects. Gradually increase striking intensity to evaluate the full dynamic range.
The bow area, by contrast, delivers the cymbal’s fundamental tonal characteristics. Mid frequencies are most prominent here. Ride cymbals show their signature “ping” in this zone, while crash cymbals reveal their harmonic complexity.
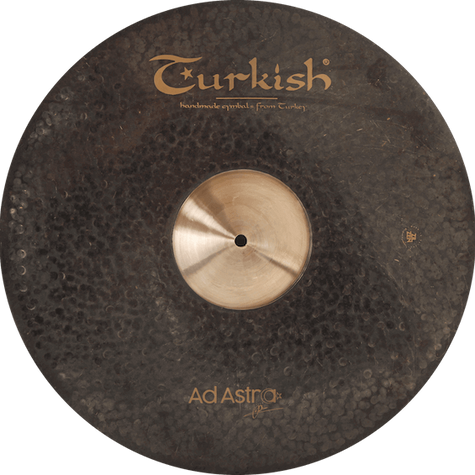
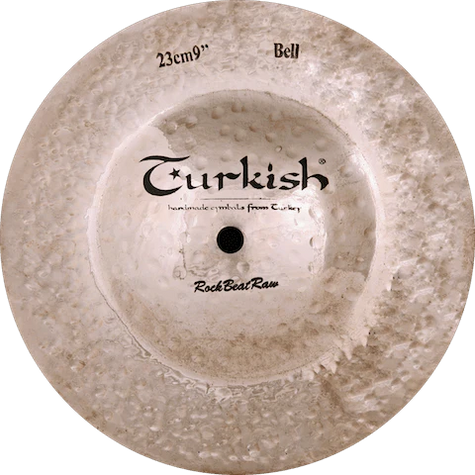
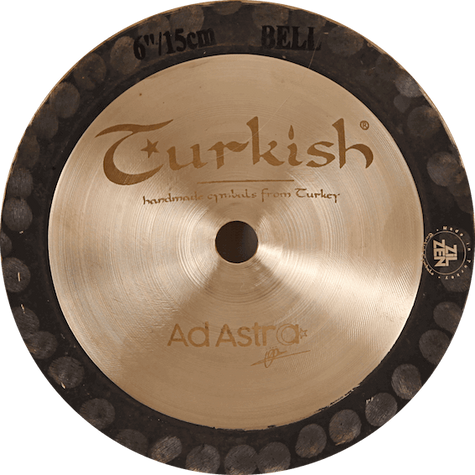
Bell testing and center zone
The bell concentrates the lowest and most direct frequencies. This area responds especially sensitively to stick choice and striking dynamics. Heavy rock drummers value a pronounced bell for cutting accents, while jazz players often prefer a subtler bell character.
Testing different stick materials can yield surprising insights. Hickory sticks produce a different attack than maple variants, and these nuances become especially apparent during bell testing.
Evaluating tonal characteristics correctly
Objectively evaluating cymbal tone calls for a systematic grasp of key acoustic parameters. Attack, sustain, decay, and harmonic structure form the pillars of a professional sound analysis.
| Sound parameters | Evaluation criteria | Musical relevance |
|---|---|---|
| Attack | Initial transients, sharpness | Cut-through in the mix |
| Sustain | Hold time, frequency stability | Musical phrasing |
| Decay | Fade behavior, harmonics | Stylistic fit |
Frequency spectrum analysis for drummers
A cymbal’s frequency distribution determines its place in the overall mix. Low-end frequencies below 200 Hz can become problematic if they interfere with the kick drum. Midrange between 1–5 kHz contributes to presence, while highs above 8 kHz add brilliance and air.
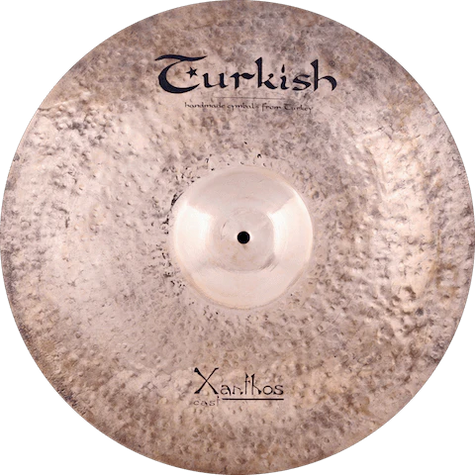
Hand-hammered cymbals often exhibit more complex frequency structures than machine-made models. These irregularities are usually desirable, as they create the characteristic “lively” sound. The art is distinguishing musical irregularities from problematic resonances.
Digital tools and modern test methods
Modern technology has revolutionized how drummers can test cymbals. Virtual testing platforms let you experience cymbals digitally before an in-person audition. These methods are valuable for shortlisting but do not replace hands-on contact with the instrument.
Spectrum analysis apps help document frequency characteristics objectively. Such tools are especially useful when comparing several similar cymbals. Visualizing the frequency spectrum can reveal subtle differences that might be missed by ear alone.
Recording and playback techniques
Recording the soundcheck session allows for objective evaluation later. Short clips of different striking techniques can be analyzed at home in peace. Aim for neutral miking that doesn’t color the cymbal’s natural sound.
Playback over high-quality monitors or headphones can expose details that get lost in a live context. The assessment of sustain behavior particularly benefits from this methodical approach.
Avoiding common cymbal testing mistakes
Even experienced drummers make common testing mistakes that can lead to suboptimal purchases. Overdoing striking dynamics is one of the most frequent issues. Many cymbals reveal their true potential at moderate to medium volumes.
- Striking too aggressively during the initial test
- Ignoring different stick variants
- Insufficient consideration of room acoustics
- Lack of systematic documentation of test results
- Testing for too short a time to judge complex cymbals
Psychoacoustic traps and biases
Human perception is subject to psychoacoustic phenomena that can influence cymbal testing. A cymbal’s weight can subconsciously shape tonal expectations, even though heavier cymbals are not necessarily “darker.”
Visual impressions such as hammer marks or finish quality can also bias auditory judgment. Professional testers therefore try to neutralize these factors and focus exclusively on acoustic properties.